Dovydas Bykovas7 min read
How to Self-Host Oxynote with Docker
Oxynote runs as one container, so installing it takes a single docker run. This guide covers the install and the first steps in the app.
Oxynote is a workspace where pages hold live charts next to the text that explains them. It runs as one container. Under the hood it's several services, its own PostgreSQL database among them, packaged together so you only have one thing to run.
So setting it up takes a single command. This guide covers the install, the first steps of using the app and how to keep it running: logging in, changing the defaults, writing a page with a live chart, reviewing a change, connecting an AI agent, and backing up and upgrading.
What You Need
- Docker, on an amd64 or arm64 machine. The image is published for both, which covers any recent Mac, Windows PC or Linux server.
- Port 8080 free on that machine, or another free port (see below).
Start Oxynote
docker run -d --name oxynote \
  -p 8080:8080 \
  -v oxynote_data:/oxynote/data \
  --stop-timeout 60 \
  ghcr.io/oxynote/oxynote:latest
What each flag does:
-druns the container in the background, and--namelets later commands refer to it asoxynote.-p 8080:8080makes the container's port 8080 reachable on your machine's port 8080.-v oxynote_data:/oxynote/datakeeps Oxynote's data in a Docker volume namedoxynote_data, outside the container.--stop-timeout 60gives Oxynote up to a minute to save open documents when it stops. Docker's default of 10 seconds can cut that short.
The volume holds everything Oxynote stores: pages, uploaded images, settings and the keys it generates on the first start. You can remove the container and start a new one on the same volume without losing anything, which is how upgrades work. Deleting the volume deletes all of it.
Wait for Oxynote to say it's up:
docker logs -f oxynote 2>&1 | grep "oxynote is up"
Nothing prints until it's ready, because grep hides every other line. That usually takes a few seconds. When a line with oxynote is up at http://localhost:8080 appears, press Ctrl+C to stop following the logs. Oxynote keeps running.
With Docker Compose
To keep the setup in a file instead, save this as docker-compose.yaml:
services:
  oxynote:
    image: ghcr.io/oxynote/oxynote:latest
    ports:
      - "8080:8080"
    volumes:
      - oxynote_data:/oxynote/data
    stop_grace_period: 60s
    restart: unless-stopped

volumes:
  oxynote_data:
Then run docker compose up -d in the same folder. stop_grace_period does the same job as --stop-timeout above, so keep it.
On Another Port or Domain
Oxynote assumes it is reached at http://localhost:8080. To use another port, change the number before the colon in -p, which is the port on your machine, and set OXYNOTE_PUBLIC_URL to the address you open in the browser:
docker run -d --name oxynote \
  -p 8090:8080 \
  -e OXYNOTE_PUBLIC_URL=http://localhost:8090 \
  -v oxynote_data:/oxynote/data \
  --stop-timeout 60 \
  ghcr.io/oxynote/oxynote:latest
With Compose, change these lines in the oxynote service:
    ports:
      - "8090:8080"
    environment:
      - OXYNOTE_PUBLIC_URL=http://localhost:8090
Oxynote itself serves plain HTTP. For a real domain, such as notes.example.com, put a reverse proxy in front of it: a web server that holds the HTTPS certificate for your domain and forwards each request to the container. Caddy is the quickest to set up, because it gets the certificate on its own. With Caddy installed on the same machine and the domain pointing at that machine, this is its whole config:
notes.example.com {
    reverse_proxy localhost:8080
}
Then set OXYNOTE_PUBLIC_URL=https://notes.example.com. nginx and Traefik work as well. Connecting an AI agent, covered below, only works on an https:// address or on localhost.
Log In
Open http://localhost:8080. Until you change the password, the login page shows the default account: [email protected] with the password oxynote-admin-1234.
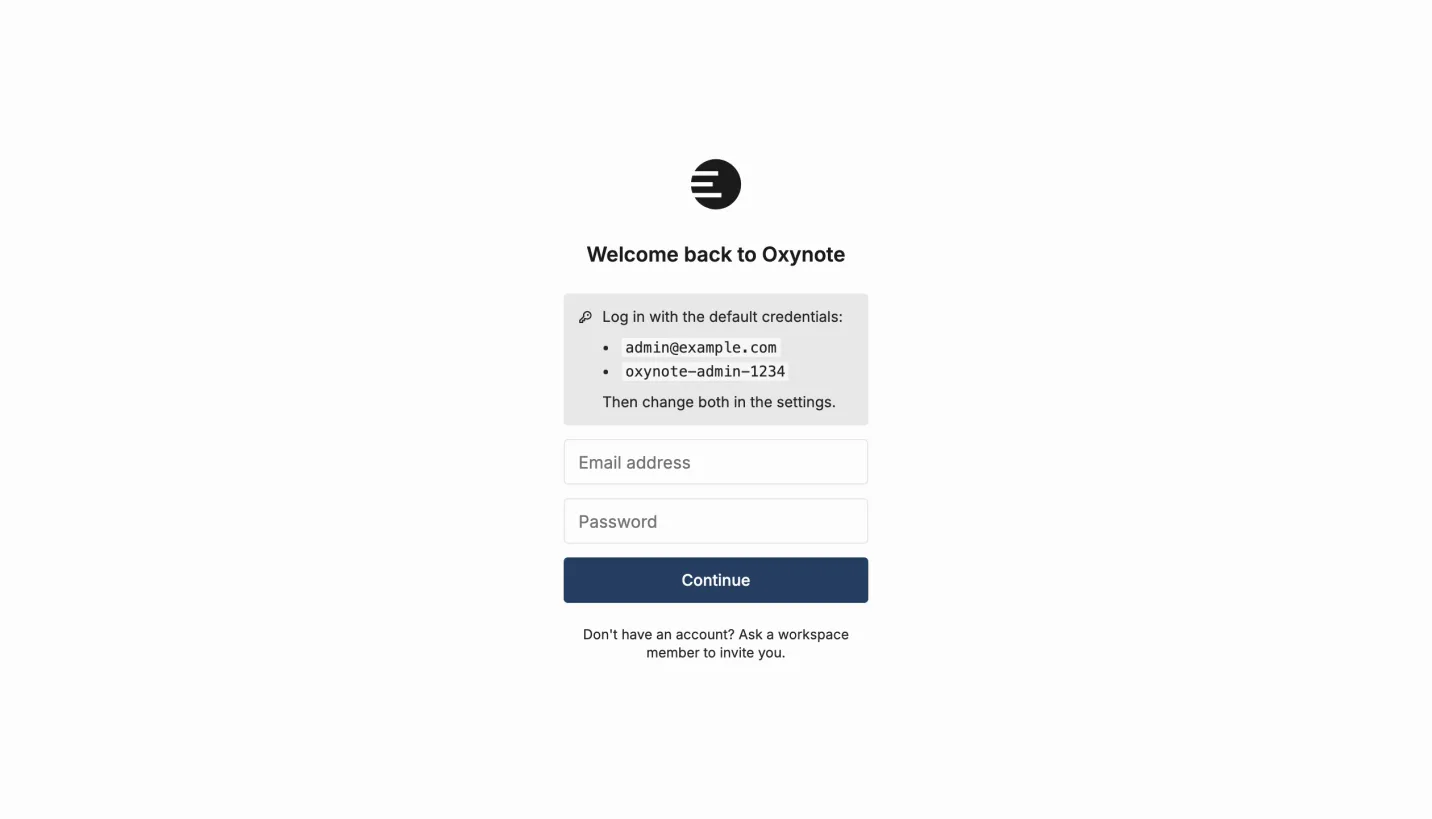
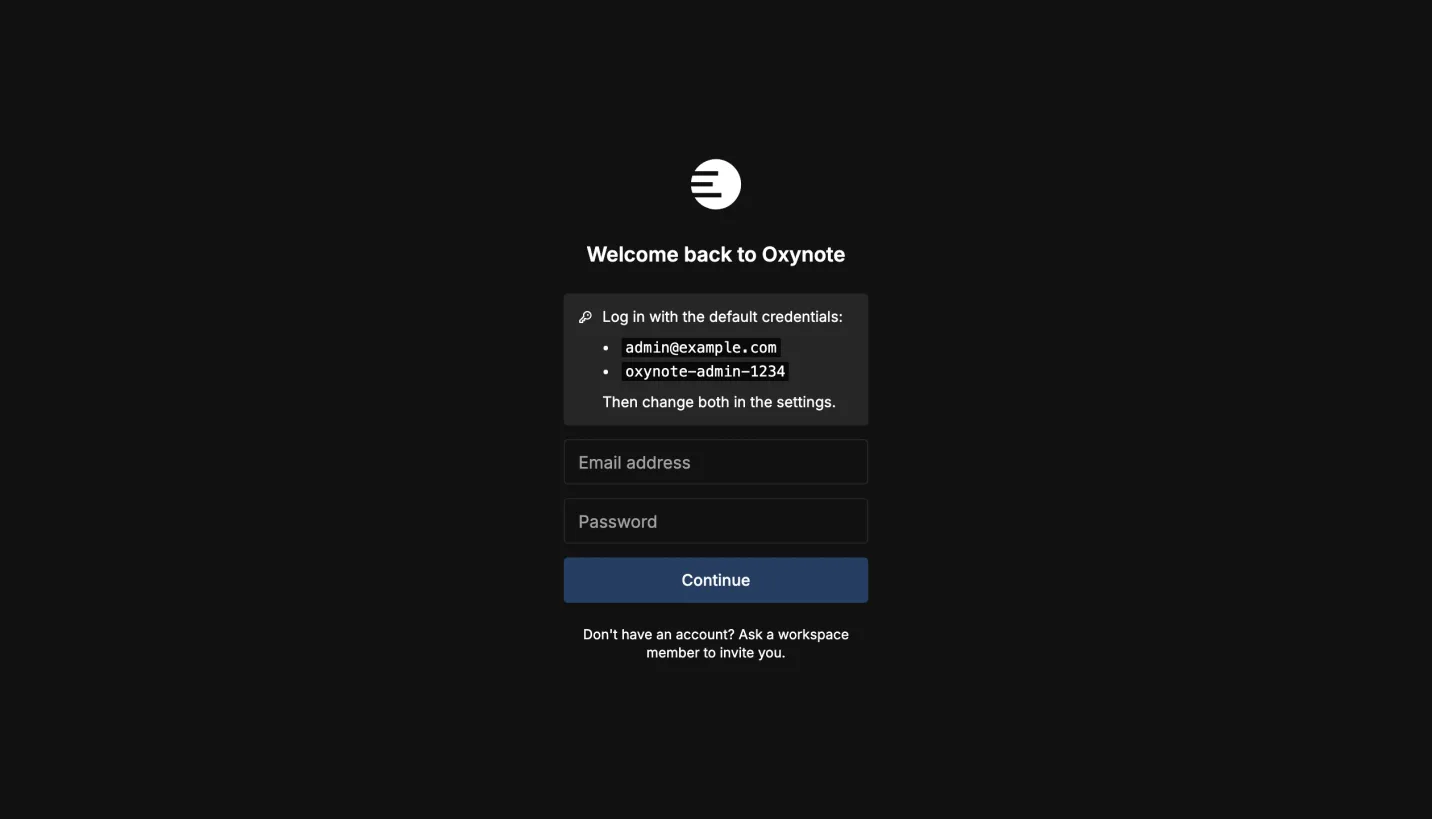 The login page shows the default account until you change its password
The first start creates one workspace and names it after a place in space. It opens on a welcome page with a getting-started checklist and charts from a built-in demo data source, so there is something live on screen before you connect anything.
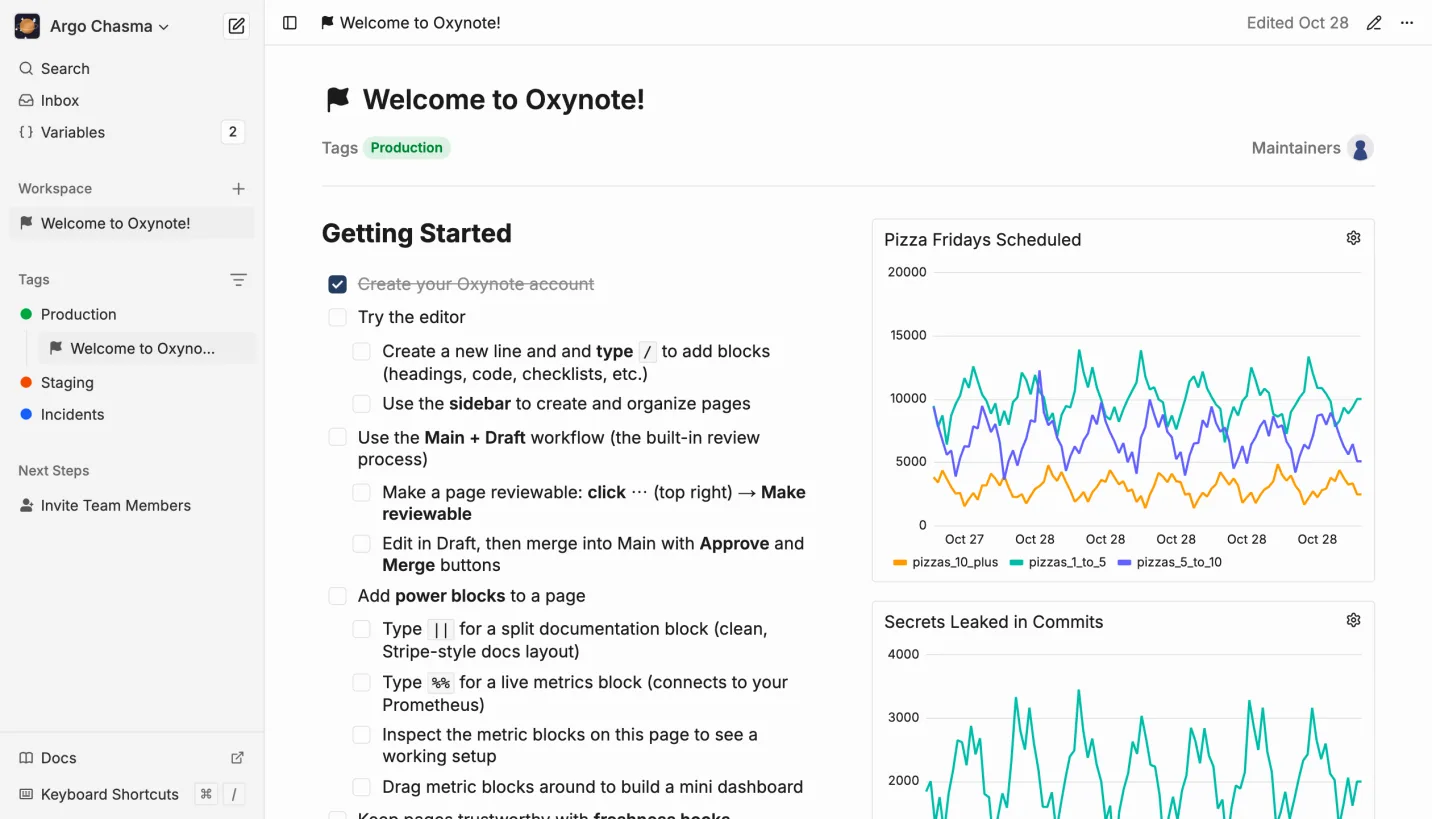
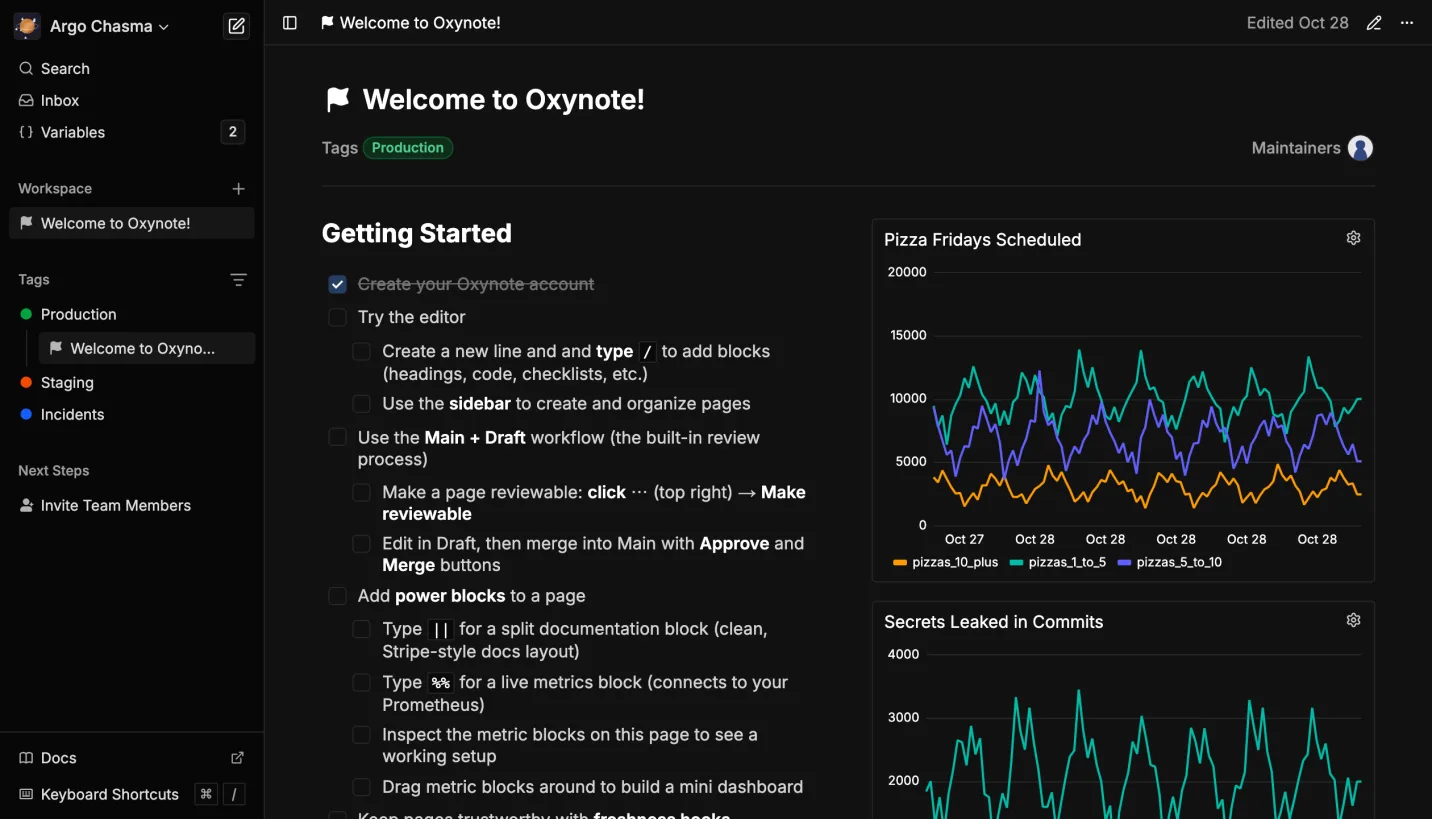 A new workspace, with demo charts already running
Change the Defaults
Anyone who can open the login page can sign in with the default account, so change it before other people can reach the instance.
Oxynote can't send email until you configure an email server (SMTP). Everything works without one, with three differences:
- There is no password reset. A forgotten password can't be recovered, so store the new one somewhere safe.
- Changing your email asks for your password instead of sending a confirmation link.
- Invitations aren't emailed. Each pending invitation has a Copy invitation link button instead, and you send the link yourself.
Open Settings from the workspace menu at the top of the sidebar:
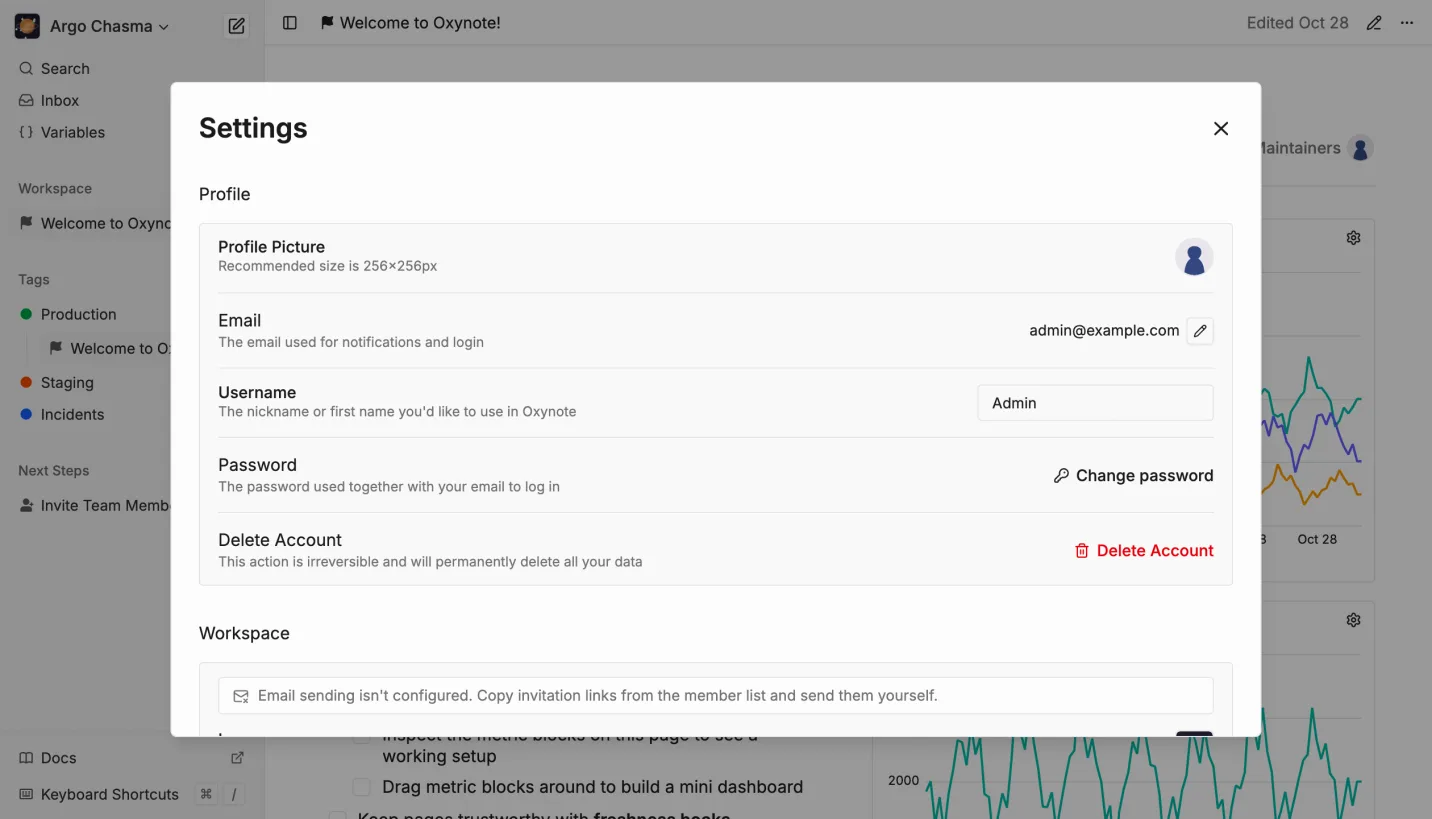
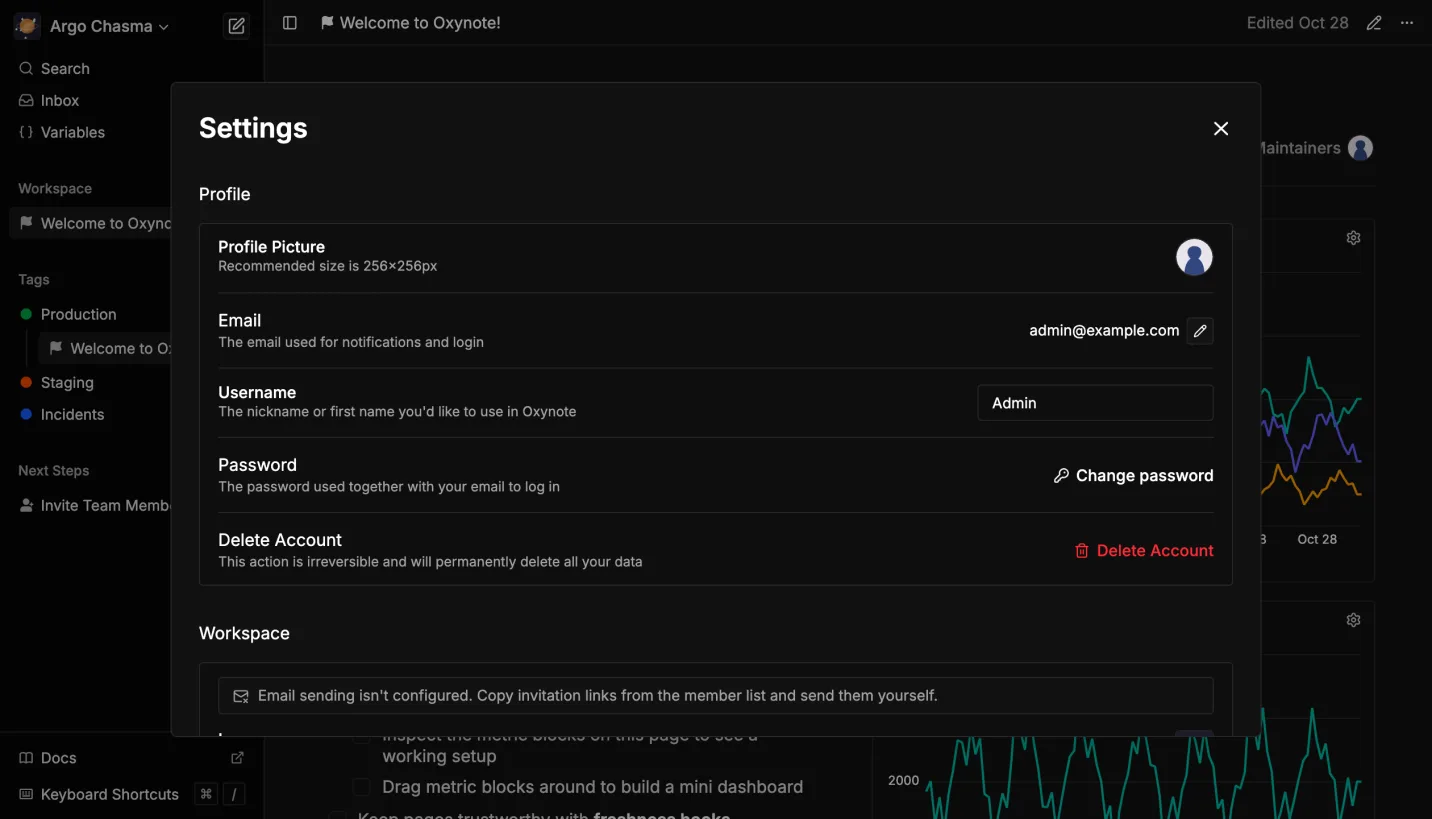 Change the email, username and password under Profile
Change the email and the password, then scroll down and rename the workspace. Once the password changes, the login page stops showing the defaults.
Write a Page with a Live Chart
The screenshots from here on come from a demo workspace named Port.
Create a page from the sidebar and write a sentence about what it's for. Then, on a new line, type / and choose Live Metrics, or type %% as a shortcut.
Pick the demo Prometheus data source. It serves synthetic data, so a chart works before you connect a real one. Paste this query, a synthetic metric for how long pull requests wait for their first review, and give the chart a title:
engineering_pr_time_to_first_review_minutes
You can also set the unit, the time range, how often it refreshes and thresholds. A threshold draws a line across the chart. Here it marks a four-hour target for the first review.
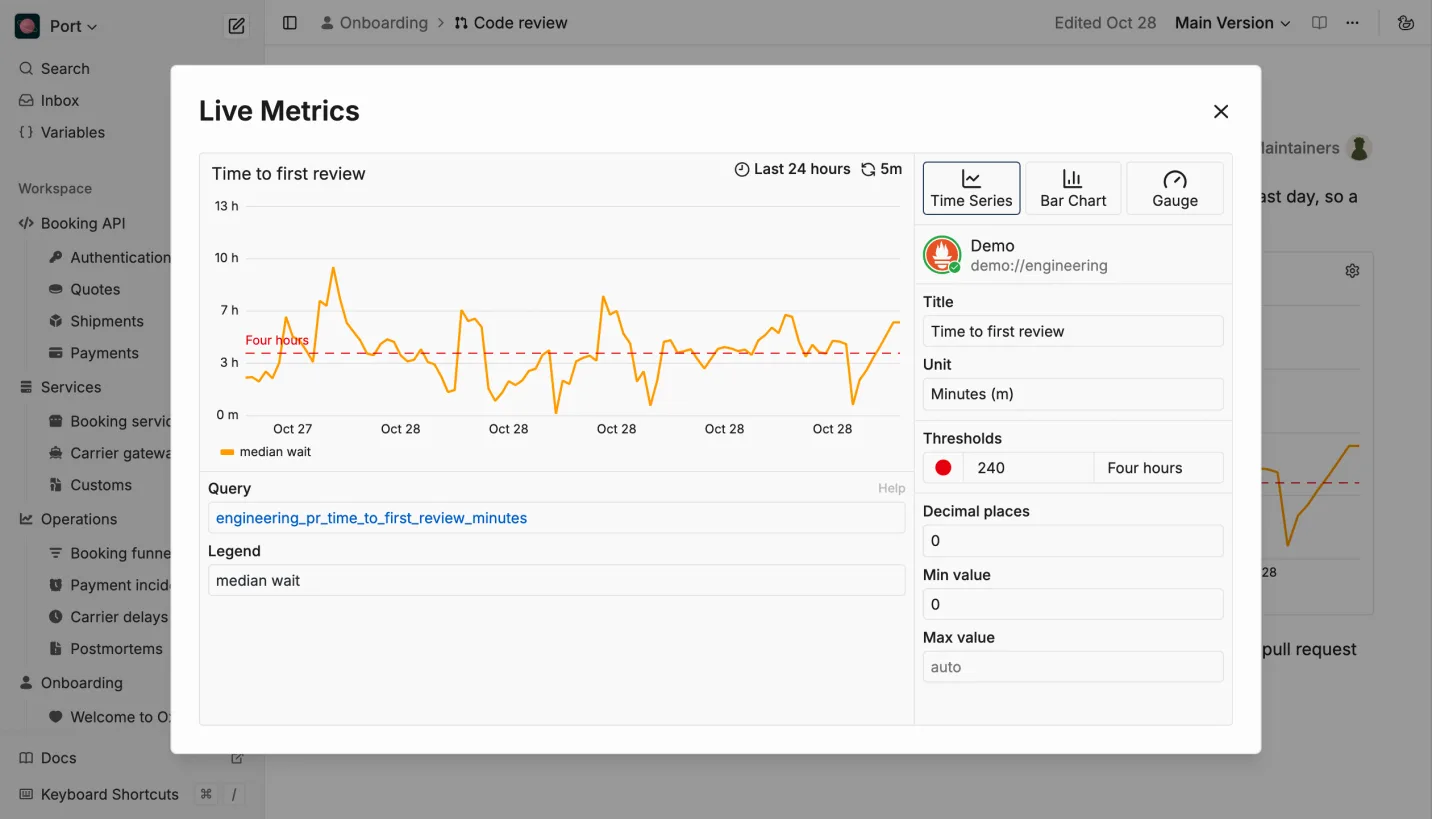
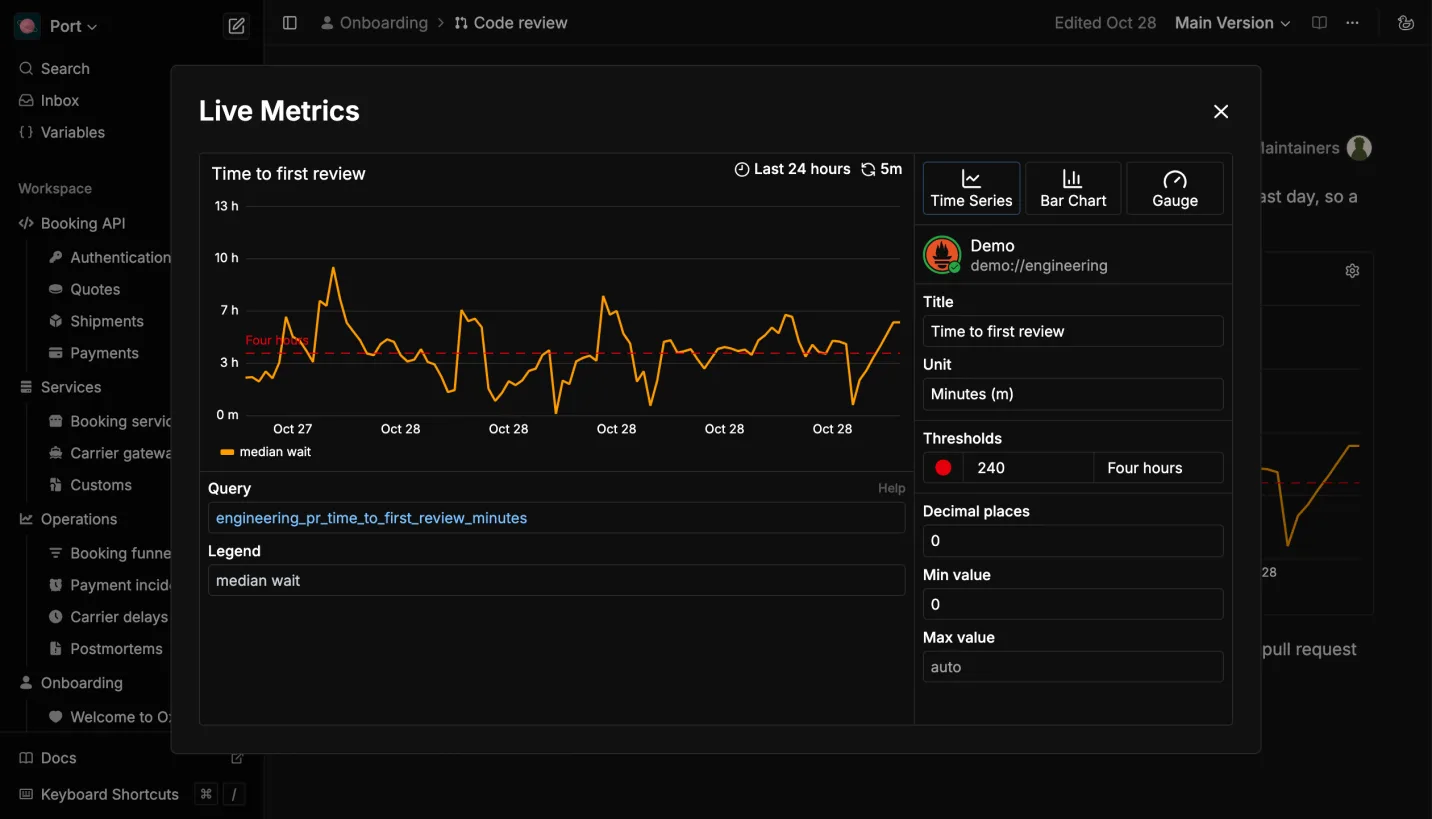 The query, the unit and a threshold at four hours
The chart runs its query when someone opens the page and again at its refresh interval. Because it sits inside the text, the sentences around it can say what it shows and what to do when the line crosses the target.
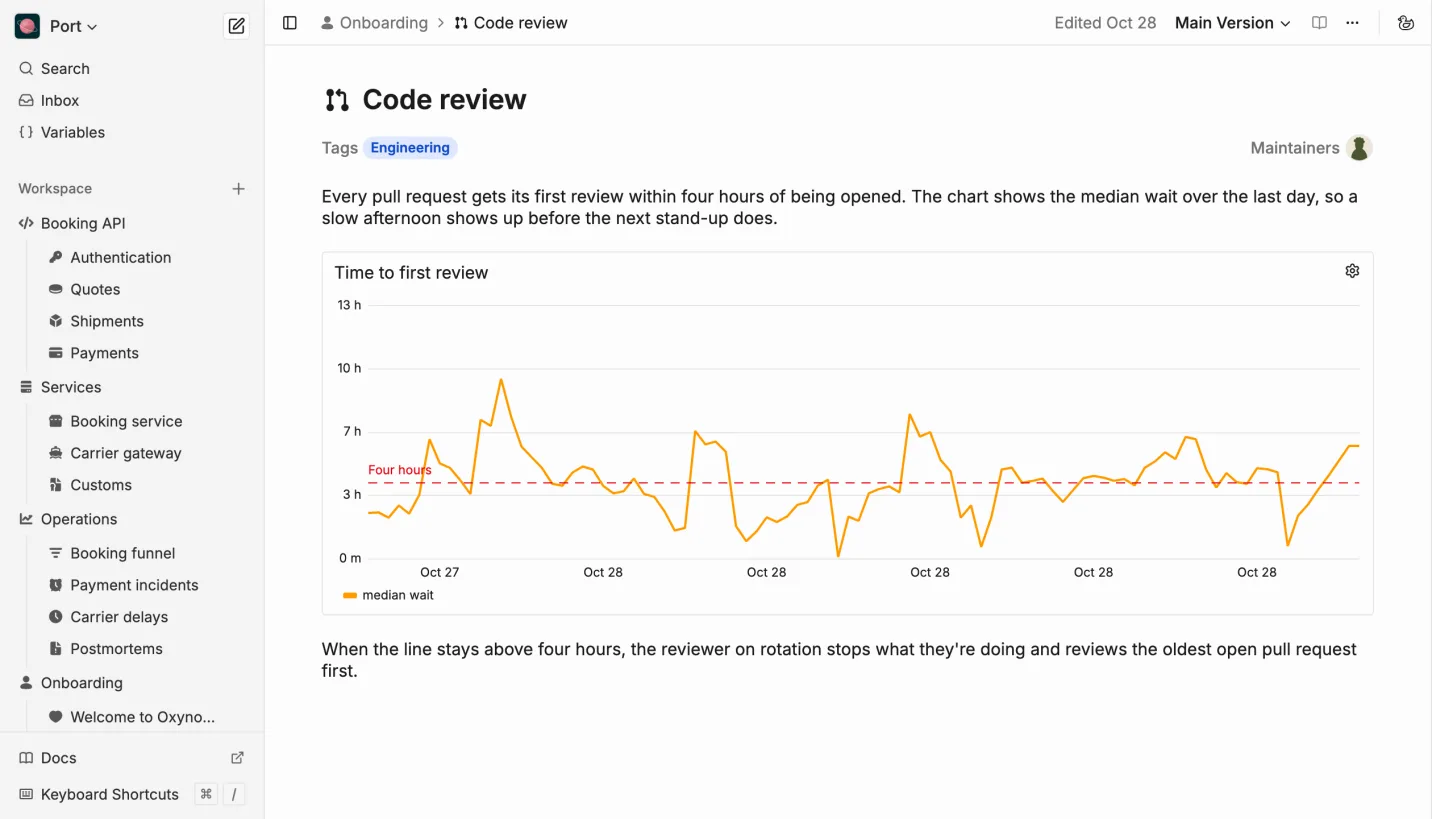
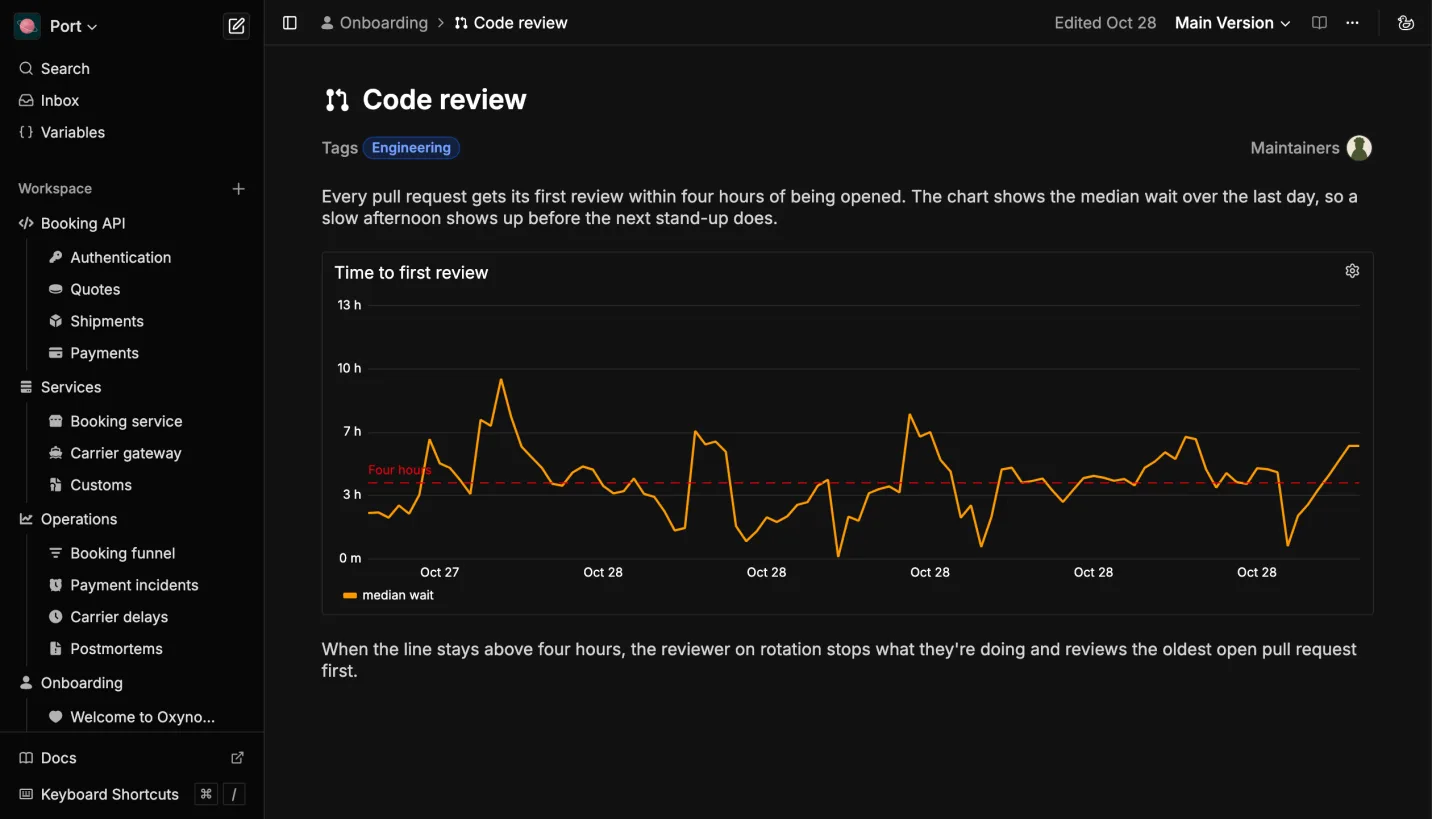 The target, the chart and what to do when the line crosses it
To connect your own data, open Settings and go to External Data Sources, where you can choose from Prometheus, PostgreSQL, MySQL and MariaDB.
Review Changes Like a Pull Request
For pages where a wrong edit matters, such as a runbook or a team's targets, Oxynote has a review flow. The main version becomes read-only, and every edit goes into a draft that a teammate approves before it's merged. To turn it on for a page, open its ⋯ menu and choose Make Reviewable.
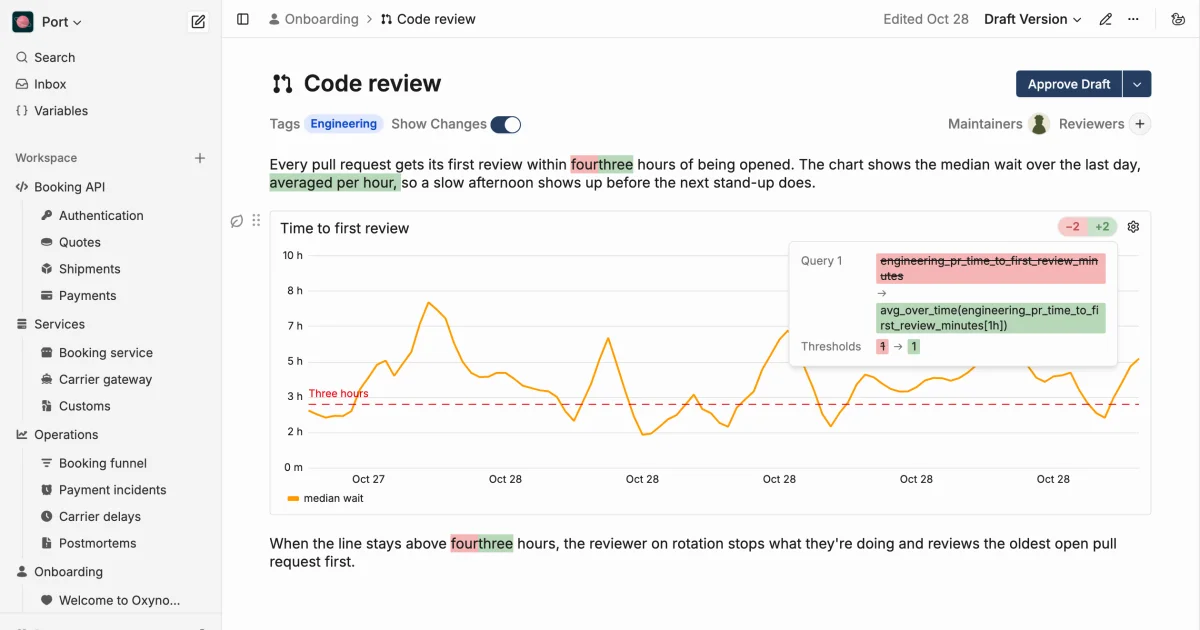
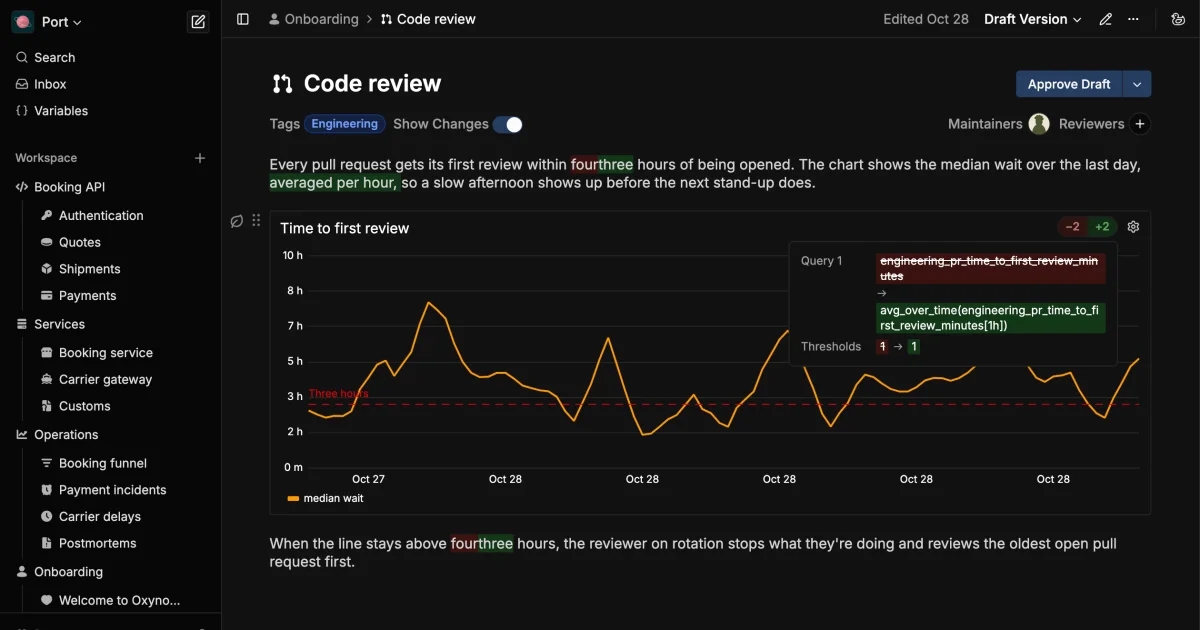
In the draft below, the target drops from four hours to three, and the query now averages the wait per hour. With Show Changes on, the draft highlights each edit in the text, and the marker on the chart lists what changed in its settings, here the query and the threshold:
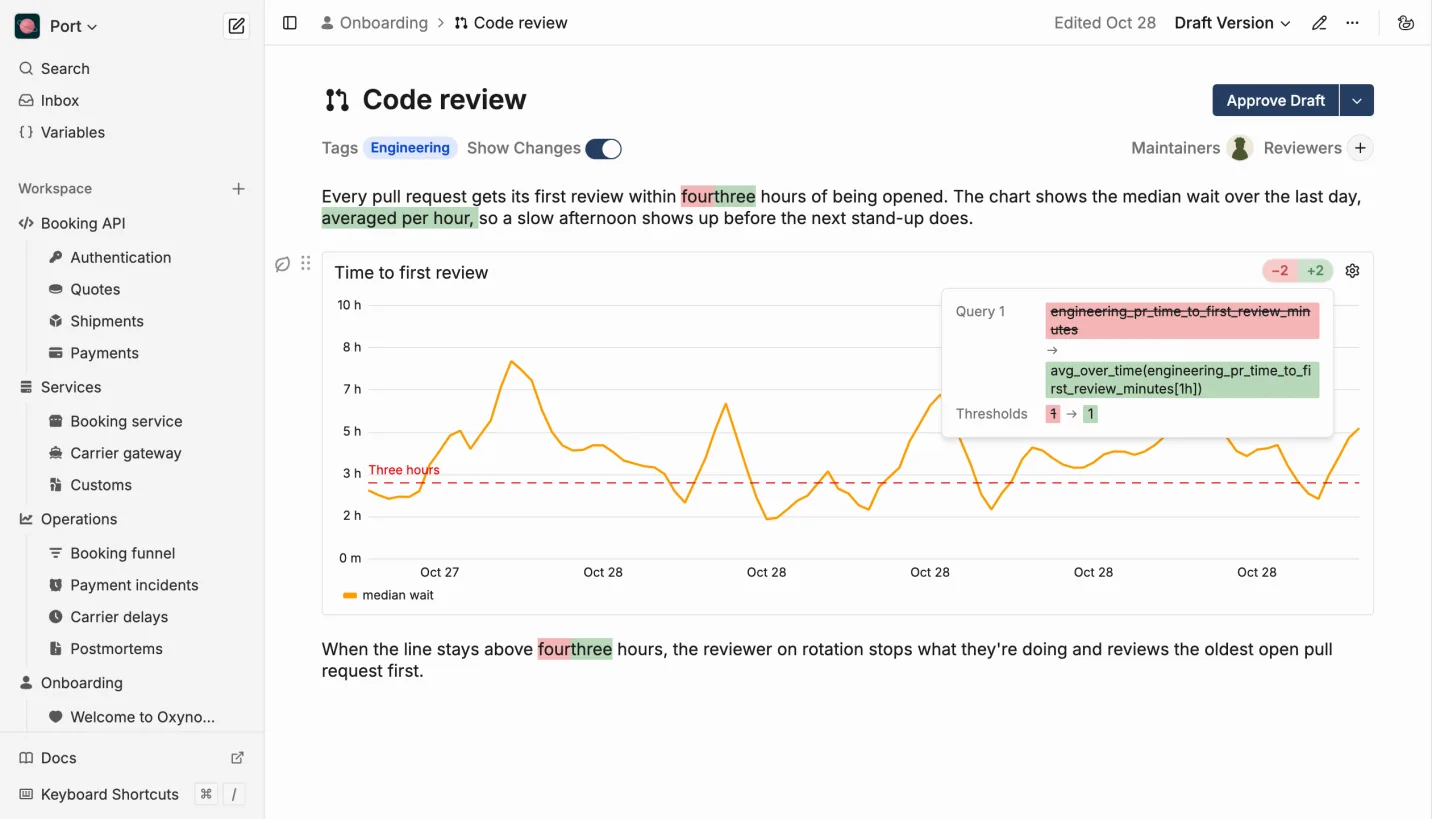
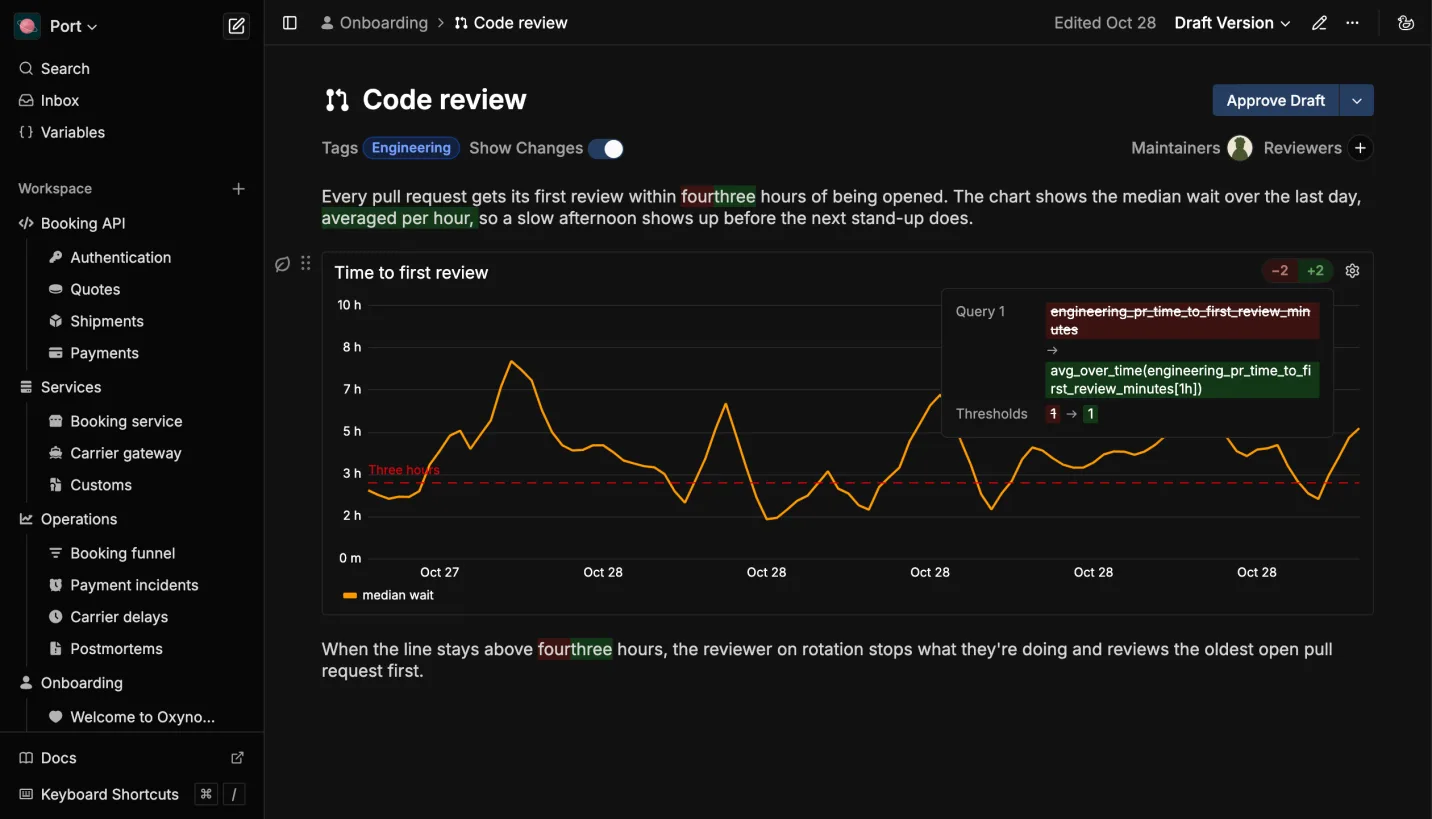 The draft shows the changed text and the changed chart query
To get the draft approved, add a reviewer under Reviewers. A new install has only your account, so invite a teammate first: open Settings and click Invite in the workspace's member list. Without an email server, send them the link from Copy invitation link.
Reviewers can approve the draft or comment on it. Once it's approved, merge it, and the main version shows the new target and the updated chart.
Connect an AI Agent
Oxynote has a built-in MCP server. MCP (Model Context Protocol) is the standard way AI agents connect to other tools, so an agent such as Claude Code, Cursor or Codex can search, read and edit your pages. To set it up, open Settings, go to MCP connections and copy the server URL:
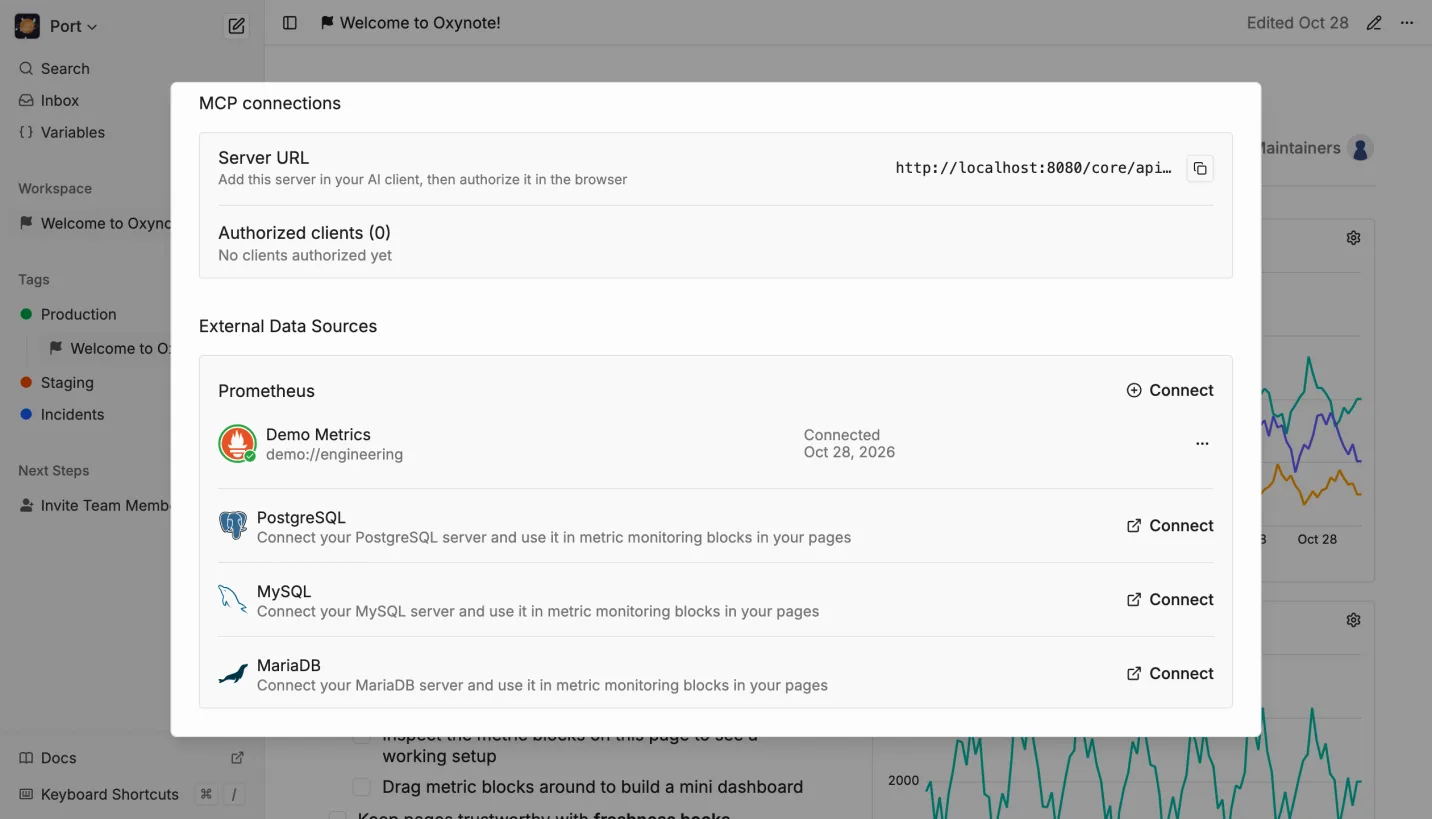
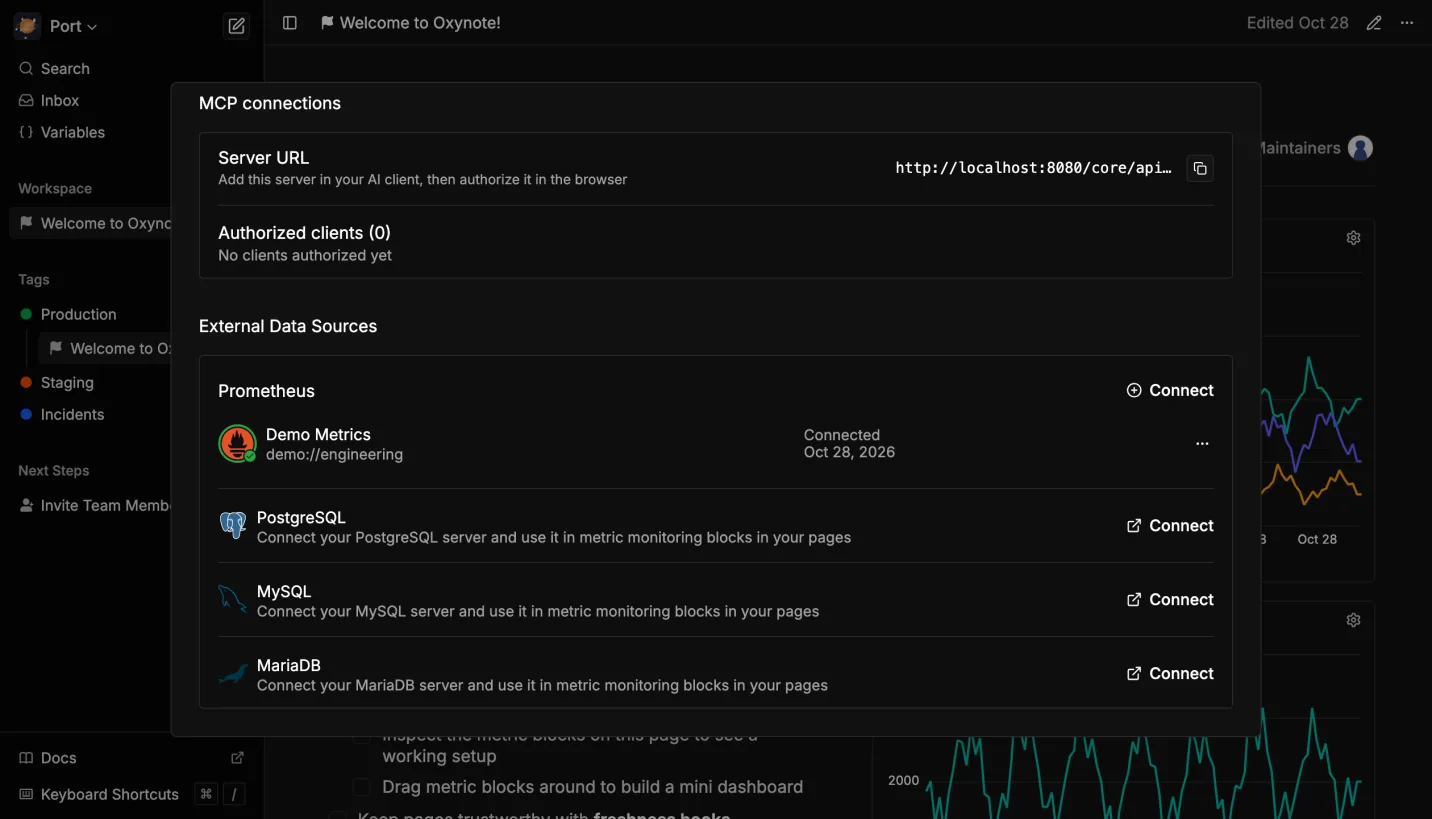 The server URL and the clients you've authorized
For Claude Code, that's one command. Use the URL you copied, which differs from this one if you changed the port or domain:
claude mcp add --transport http oxynote http://localhost:8080/core/api/mcp
In Claude Code, run /mcp and authorize Oxynote in the browser window that opens. The agent then shows up under Authorized clients. On reviewable pages, agents edit the draft like everyone else, so their changes go through review too.
Back Up and Upgrade
Back Up
Everything lives in the oxynote_data volume, so a full backup is a copy of it. Stop Oxynote first, so nothing changes during the copy:
docker stop oxynote
docker run --rm -v oxynote_data:/data -v "$PWD":/backup alpine \
  tar czf /backup/oxynote-data.tar.gz -C /data .
docker start oxynote
This writes oxynote-data.tar.gz to your current folder. To restore it, for example on a new machine, unpack it into an empty volume, then start Oxynote with the command from the top of this guide:
docker run --rm -v oxynote_data:/data -v "$PWD":/backup alpine \
  tar xzf /backup/oxynote-data.tar.gz -C /data
Upgrade
Pull the new image, stop and remove the old container, then start a new one on the same volume. Oxynote updates its database when it starts, so there is no separate migration step.
docker pull ghcr.io/oxynote/oxynote:latest
docker stop oxynote && docker rm oxynote
docker run -d --name oxynote \
  -p 8080:8080 \
  -v oxynote_data:/oxynote/data \
  --stop-timeout 60 \
  ghcr.io/oxynote/oxynote:latest
With Compose, run docker compose pull, then docker compose up -d.
The operator README covers the rest: an external PostgreSQL, email, object storage, social login, the AI assistant and the workspace limits.
Wrapping Up
Next, connect your own data. The PostgreSQL guide walks through it.
Oxynote is open source: github.com/oxynote/oxynote. If a step here doesn't work on your machine, we'd like to hear about it: ask on Discord or open an issue.